Quick Start
This article will walk you through the steps required to install, set up, and configure LSPP in your project.
Install LSPP
LSPP is a package that is available on the Unity Asset Store. You license and import LSPP like any other Unity Asset Store asset. Once you import LSPP to your project, it will appear in the Assets/OccaSoftware/LSPP/ directory.
The LSPP package consists of two main sub-directories: AssetResources and DemoResources. You can safely delete the DemoResources from your project at any time. Never delete the AssetResources folder unless you want to uninstall LSPP from your project.
Enable LSPP
LSPP requires both a Renderer Feature and a Volume Component Override to start working.
Start by adding the LSPP Renderer Feature to your Universal Renderer Data asset. Navigate to your Universal Renderer Data asset, click Add Renderer Feature, then choose "Light Scattering Render Feature" from the dropdown menu. Your renderer now has access to the LSPP Renderer Feature.
By default, LSPP is disabled. To enable LSPP, we need to add the LSPP Override to a volume in your scene, then enable the override.
On a new or existing volume, click Add Override. Then choose Light Scattering Post Process from the dropdown menu. You should see Unity add the LSPP Override to the Volume. Then, enable the Fog Density override and set it to 10.
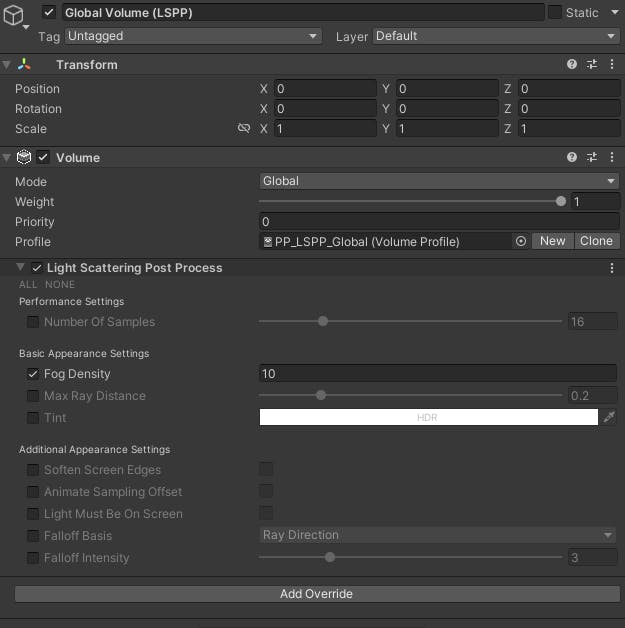
You have now enabled LSPP in your project.
Configure LSPP
You can configure this LSPP override directly from the override options. Any changes that you make will be automatically applied.
Start with configuring the performance and basic appearance options before diving in to the additional appearance options, which offer advanced features.
Each option has a corresponding tooltip to provide more context on usage and impact.